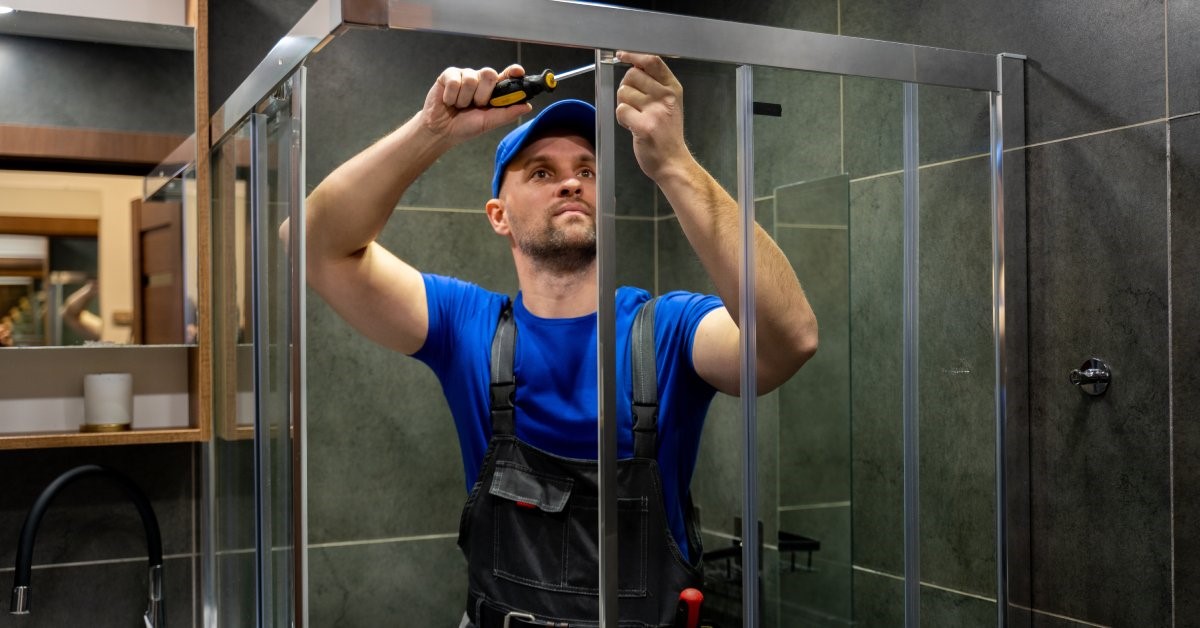
Are you tired of your outdated bathtub taking up valuable space in your bathroom? Converting a tub into a sleek, modern shower could be the transformative project you need, bringing both functionality and style to your home. Not only can this upgrade enhance your bathroom’s aesthetic, but it also provides practical benefits, such as creating a more accessible bathing area for all household members. Check out our step-by-step guide to a DIY tub-to-shower conversion.
Planning Your Project
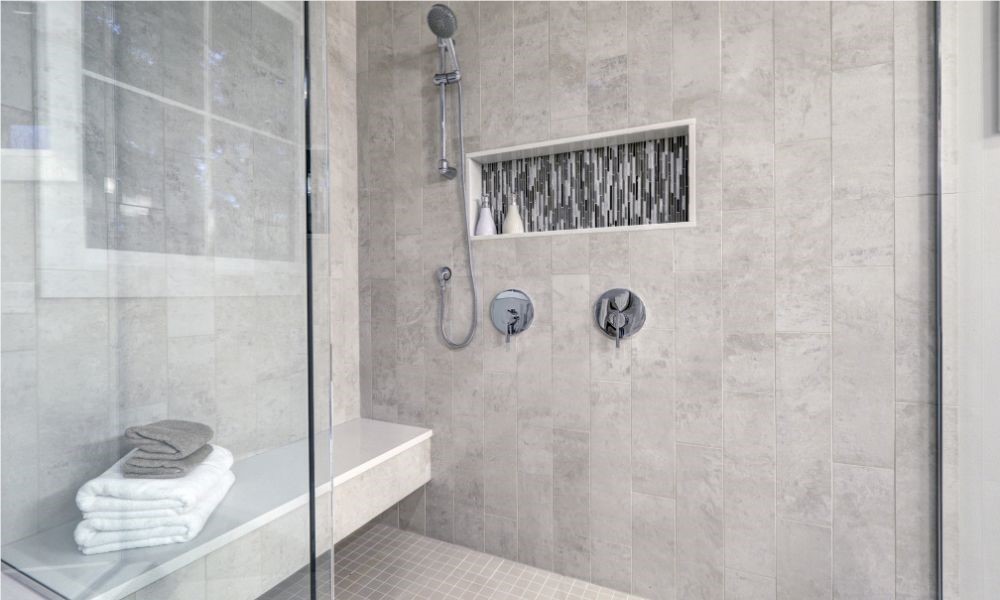
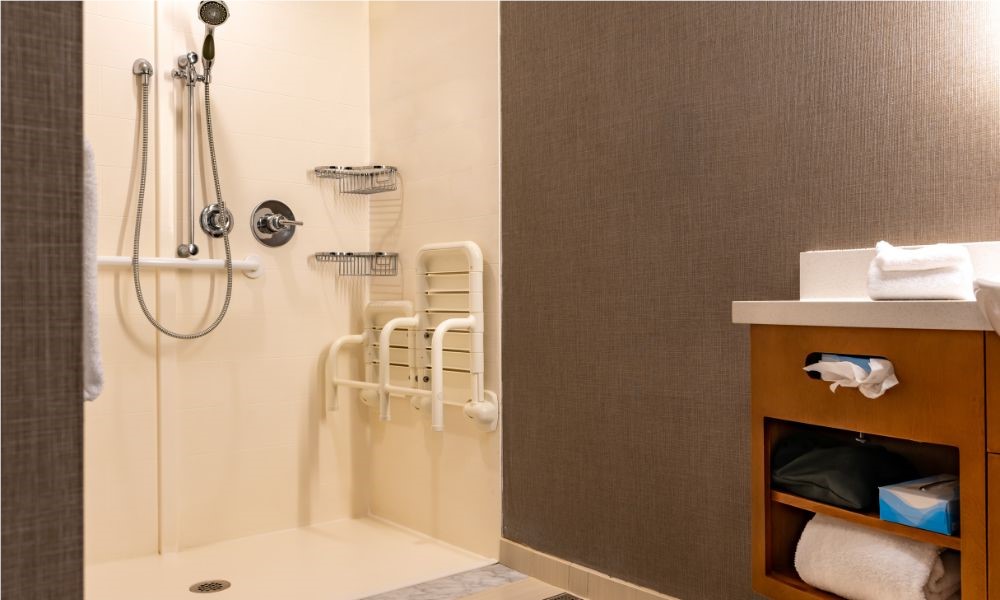
Before diving into your tub-to-shower conversion, it’s crucial to plan your project carefully. Start by assessing your existing bathroom layout to determine the optimal placement for your new shower. Consider factors such as the location of plumbing, space constraints, and access to natural light. Measuring the area where the tub currently sits will help you choose the right size and style for the shower base or pan. It’s also a good time to decide on the type of shower enclosure you prefer, whether it’s a glass door or a curtain. Additionally, think about incorporating features like built-in shelves or benches for added convenience and comfort.
Setting a realistic budget is another essential aspect of the planning phase. Research the cost of materials, fixtures, and tools required for the conversion. Don’t forget to account for unexpected expenses and potential complications that may arise during the process. If you’re not comfortable handling plumbing or other technical tasks, consider hiring a professional team like Reece Builders so you can focus on the aspects you can manage confidently. Thorough planning not only helps you stay within budget but also ensures that the transformation of your bathtub into a shower goes smoothly and efficiently, leading to a successful DIY venture.
Tools and Materials
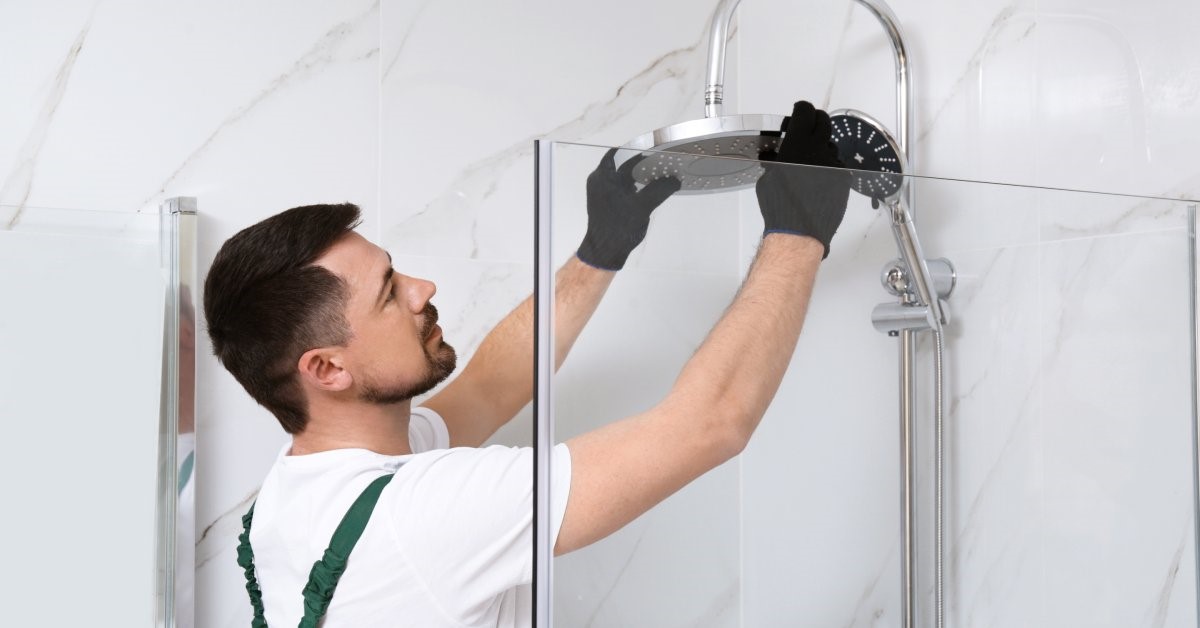
To successfully convert your tub into a shower, it is essential to gather the right tools and materials before beginning your project. Having everything readily available will save you time and reduce stress during the installation process. Basic tools you’ll need include a utility knife, adjustable wrench, screwdriver, level, and power drill. You may also require a reciprocating saw to remove the old tub and a tile cutter if you plan to install new tiles around your shower. Safety equipment, such as gloves, safety goggles, and a dust mask, is also crucial to protect yourself while working.
In terms of materials, you’ll need to purchase a shower base or pan, which forms the foundation of your new shower. Consider selecting a model that fits the dimensions of your space and complements the overall design of your bathroom. You’ll also require pipes and fittings to connect the new shower drain to your existing plumbing system. Depending on your preferences, choose a shower enclosure like a sleek glass door or a practical shower curtain. Finally, select fixtures such as the showerhead, faucet, and any additional elements like shelving or seating. Ensuring you have all the necessary tools and materials on hand will streamline your DIY endeavor, allowing you to focus on creating a functional and aesthetically pleasing shower space.
Tub Removal
The first step in transforming your bathroom into a modern shower space is to remove the existing tub. Begin by turning off the water supply to prevent any leaks or accidental flooding. Next, remove any existing tiles or wall coverings around the tub area using a utility knife and a crowbar to ensure you expose the entire bathtub structure. Carefully detach the faucet and drain fittings with an adjustable wrench and screwdriver.
With the plumbing fixtures removed, you can now lift the tub away from its position. You may need a reciprocating saw to cut the tub into smaller, more manageable pieces if it’s too heavy to remove in one piece. Ensure you have a clear path to transport the tub or debris out of your home and dispose of it following local waste management regulations. With the tub successfully removed, inspect the area for any water damage or mold and address these issues before proceeding to install the new shower.
Shower Base Installation
Once the tub is removed and the area is thoroughly inspected and cleaned, it’s time to install the shower base. Begin by positioning the shower base in the designated area, ensuring it aligns with the existing plumbing connections. Use a level to confirm that the base is even, making any necessary adjustments to prevent water from pooling unevenly.
Secure the base in place according to the manufacturer’s instructions, which typically involves the application of waterproof adhesive or mortar. Once the base is firmly set, connect the shower drain to the plumbing system, ensuring a tight seal to prevent leaks. Taking these steps with care will provide a solid foundation for your shower.
Wall Tiling
Tiling the walls of your new shower is a crucial step that not only enhances the visual appeal but also ensures waterproofing and durability. Begin by thoroughly measuring the area to determine the needed quantity of tiles, keeping in mind the pattern you wish to achieve. Prepare the surface by applying a suitable waterproof membrane, allowing it to dry completely before starting the tiling process.
Using a notched trowel, spread adhesive on the wall starting from the bottom, pressing tiles firmly into place. Utilize tile spacers to maintain uniform gaps, which will later be filled with grout. Carefully cut tiles to fit edges and corners, ensuring precision and alignment. Once all tiles are set, allow the adhesive to cure according to the manufacturer’s instructions. The final step involves removing spacers and applying grout to seal the spaces between tiles for a neat, resilient finish. With each tile secured, your shower takes on a polished appearance, bringing your bathroom transformation one step closer to completion.
Final Touches and Adjustments
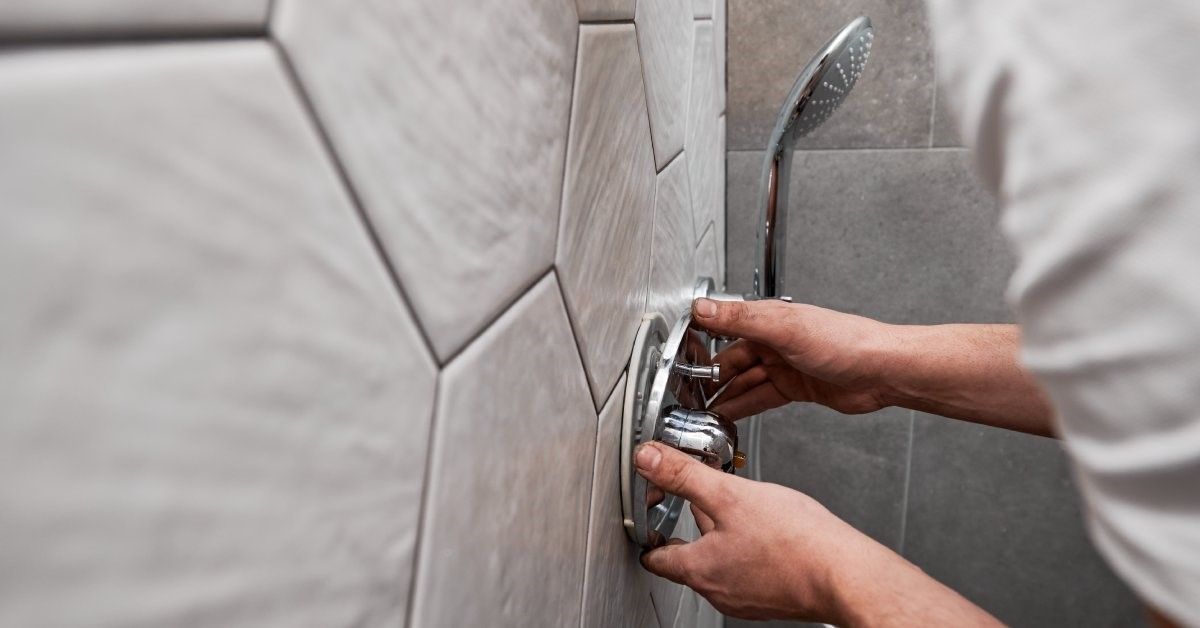
Once the shower base and tiles are perfectly in place, you can focus on the finishing touches and adjustments that will bring together the whole remodeling project. Install your chosen shower fixtures, including the showerhead, faucet, and any additional features like built-in shelves or seating, making sure they are securely fastened and properly sealed to prevent leaks.
Double-check all connections and make any necessary adjustments to guarantee everything functions correctly. Attention to these details not only optimizes the shower’s functionality but also enhances its aesthetic appeal. Finally, conduct a thorough inspection of your new shower to ensure it meets your expectations and adheres to quality standards.
Use this step-by-step guide for DIY tub-to-shower conversion and guarantee a successful project. You can also rely on the pros at Reece Builders when you need assistance—we specialize in bathroom conversions and are happy to help make your dream restroom a reality. Explore our online store for DIY project supplies and learn more about our helpful renovation services.
Subscribe to Reece Builders's Blog


Comments